I had a couple more boxes of crayons and a billion ideas pinned on my
Pinterest boards. So of course I had to make something else today!!!
It all started with this inspiration:
A seller on Etsy makes these for $75 bucks a pop. I knew I would be able to easily make one of my own. I had a couple canvases in the basement that I had been saving to paint some art work for our bedroom. I never got around to doing that and since we decided to sell the house later this year, I figured I could re-purpose the canvases. We've lived this long without art in the bedroom. What's a couple more months, right??
I googled "melted crayon art" and found
this tutorial. She also used the Etsy piece as an inspiration. Great minds think alike! She peeled all the wrappers off her crayons, though, which is a step I didn't do. Mainly because peeling crayons sucks. Once of the commenters on her blog, however, said that if you soak the crayons in water first, they peel off easier. Great tip for when I make melted crayon shapes!
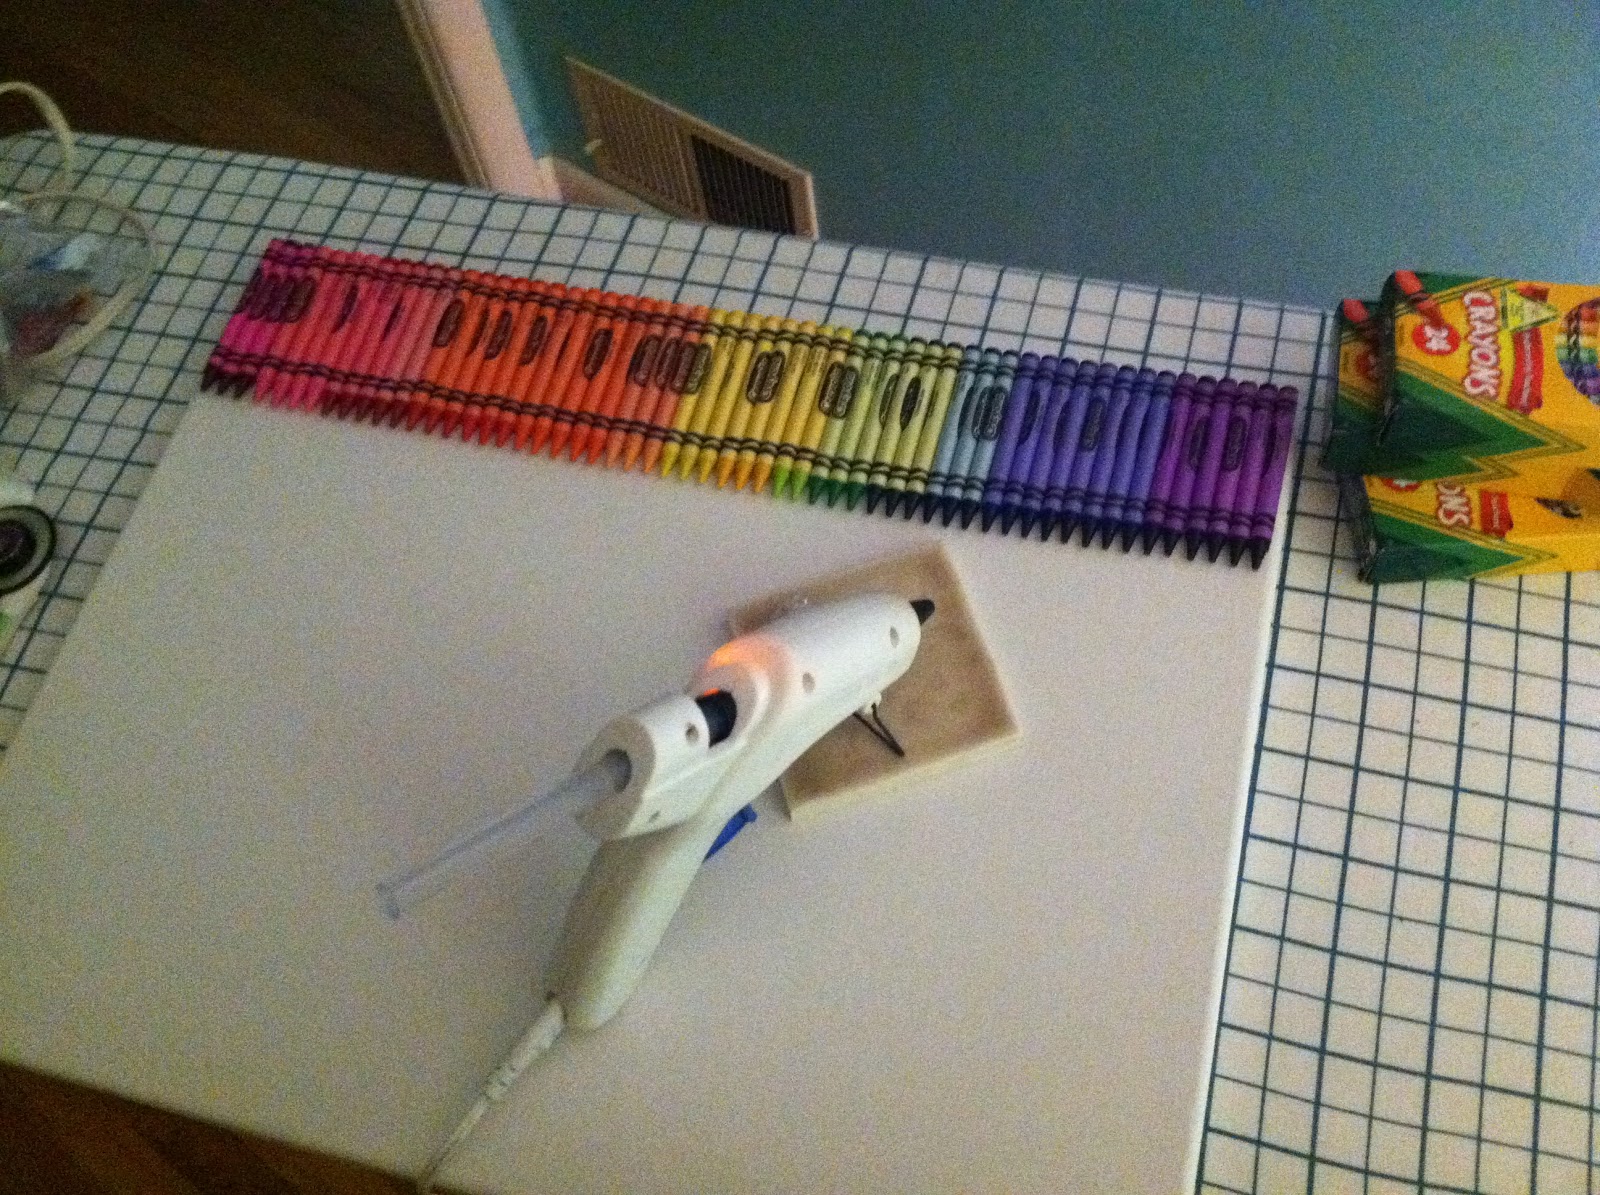
I got out the trusty glue gun and a couple more boxes of crayons that were left over from the
crayon wreath project. I lined the crayons up on the canvas in an order that I liked and started gluing away. I omitted the gray, white, brown, and black crayons since I wanted it to be bright and colorful.
After they were all glued on, I let it dry over night. I didn't want to risk having the hot glue heat up during the next process and have crayons falling off the canvas.
The next morning I taped up an old piece of painter's plastic (we used it over Audrey's crib when we painted the ceiling in the kids room a couple of weeks ago) above the mirror and placed the canvas on top of it. In the tutorial above, it looked like there was some splatter behind. I definitely did not want melted crayons splattering on our gorgeous bathroom countertops!
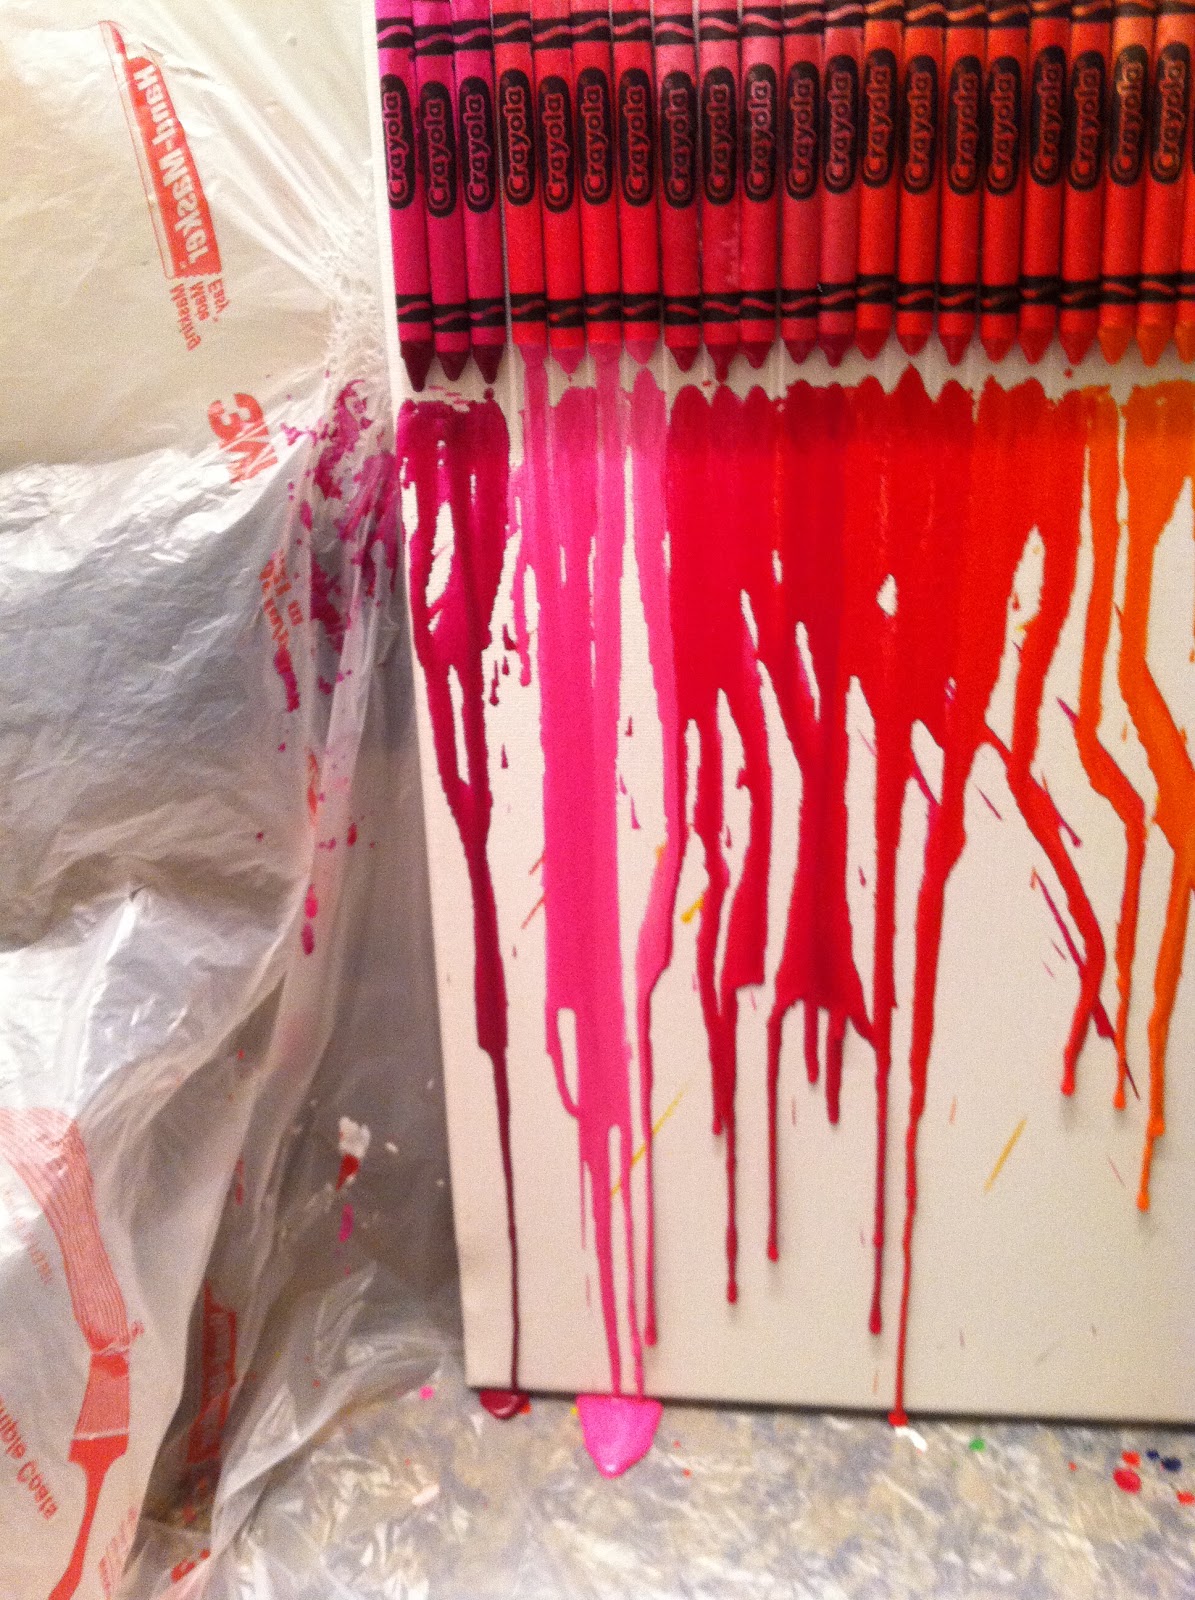
I then got out my hair dryer and blasted the crayons at full speed, to soften them up. This worked well, but the force of the dryer caused a couple of colors to splatter across the canvas. Ruh row.
The effect was working well, though.
Ben mentioned that he had a heat gun. Would I like to try it? Yes, please! Enter Ace Hardware's heat gun:
I used the low setting, since this is significantly hotter than a hair dryer. And I did not want splatters all over the canvas. It worked much faster than my hair dryer. I had to be careful of the plastic behind, though, since it liked to melt under the heat gun. No melted plastic is allowed on our bathroom mirrors. I guess that is an unwritten rule of the house. :)
I love how the crayons melted all the way to the bottom, filling up the entire canvas. The heat gun made it a quick project and I'm super happy with how it turned out.
I can't wait to show it to you in my completed classroom! It will look so cute with all the other colorful elements I am adding.
Cost Breakdown:
3 boxes of crayons ($0.40 a piece at Walmart) - $1.20
White Canvas (40% off at Michael's) - already owned
Hot glue - already owned
Hair dryer and Heat gun - already owned
Total cost - $1.20 - Smokin' deal!!
Do you have any
Pinterest projects you are working on? What about back to school? I'd love to hear about them! Maybe you have some other DIY art ideas that you've been dying to try. Let me know!


3 comments:
I made the 1st day in kinder "frame" and am so excited to use it!
Oooh, I can't wait to see it, Laura!
Saw someone do this but afterwards they put a white wooden letter in the middle of the dripped colors and Hung it on her sons wall which is what I want to do, can't wait!! Thanks for sharing! :)
Post a Comment