Sunday, February 20, 2011

Homemade Crayons!

Here is a fun easy project I've been doing for a couple of years with Nathan's and my student's broken crayons!  I used to just throw away broken crayons.  Now I save them, Hoarders style, in a big yellow bucket.
When I am ready to make crayons, I have to peel the labels off.  This takes awhile so I plop myself on the couch with a good movie or a date with the DVR, and get to work.

I then sort the crayons into like colors.  I only do the rainbow colors.  So all the shades of blue go into  the blue pile.  I then get out my crayon supplies: a small metal pot and small metal bowl, both from Goodwill.  I also have a hot pad that I use just for crayons, a skewer to stir the melted wax, an old towel to set out on the counter to catch any drips, paper towels to wipe out the metal bowl, and plastic molds to pour the wax into.  Some of the plastic molds I have are soap molds, some are chocolate molds, and some are lollipop molds.  I've gotten them at Michaels, Joanns, and Amazon.com.
I set the pot and metal bowl up as a double boiler, with water in the pot and the sorted crayons in the bowl. 
I wait until they are all melted, then using the hot pad, I pour the wax into the plastic molds. 
I allow them to completely cool.  Sometimes if I want them to cool faster, I put the mold in the refrigerator. 
Here is the process again, but with green.  Put the crayons in the bowl.
Using the skewer, stir until completely melted.
When finished pouring the wax into the molds, wipe out the bowl with a paper towel to get rid of all of the green residue and to get ready for a new color. 
That's it!  I made Super Hero crayons as part of the goodie bags for Nathan's birthday a couple of weeks ago.  I plan to make crayons for the kids' table at my brother-in-law's wedding in May, and I always send my students home for the summer with some homemade crayons.  This year they will be getting little paw prints, since we are the Mill Park Panthers.  It'll be so cute!

Tuesday, February 15, 2011

Super Nate Turns 5!

We had Nathan's Birthday party this Saturday over at Bliss Bake Shop in Bethany Village in NW Portland.  My mother in law took Ben and I to a crab feed dinner at her church and we bid on a birthday party package at the silent auction.  We ended up getting it!  Bliss was great - so adorable, awesome staff, and delicious cupcakes.  I highly recommend!

The theme was Super Heros, since Nate has been into them for awhile.  His big Christmas present last year was a Bat Cave, he was Iron Man for Halloween, and he got Trio Batman and Joker sets for Christmas this year.  I made his invitations with the Paintbrush application on my Mac (I wish I had photoshop!)  It turned out cute!  It took FOREVER to crop his picture.  I hung a white sheet over the baker's rack in our laundry room for a backdrop.  His outfit is Superman jammies with a velcro cape.
The treat bags were really fun.  I ordered the bags from Groovy Holidays.  I had a coupon for $20 off from Mamapedia Sweet Deals.  I filled the bags with Iron Man and The Hulk Silly Bandz, homemade Batman and Superman crayons (more on those later!), Batman notepads from the dollar section at Target, Spiderman stickers, and a Super Hero Squad figurine.  The kids were pumped about all the fun loot!

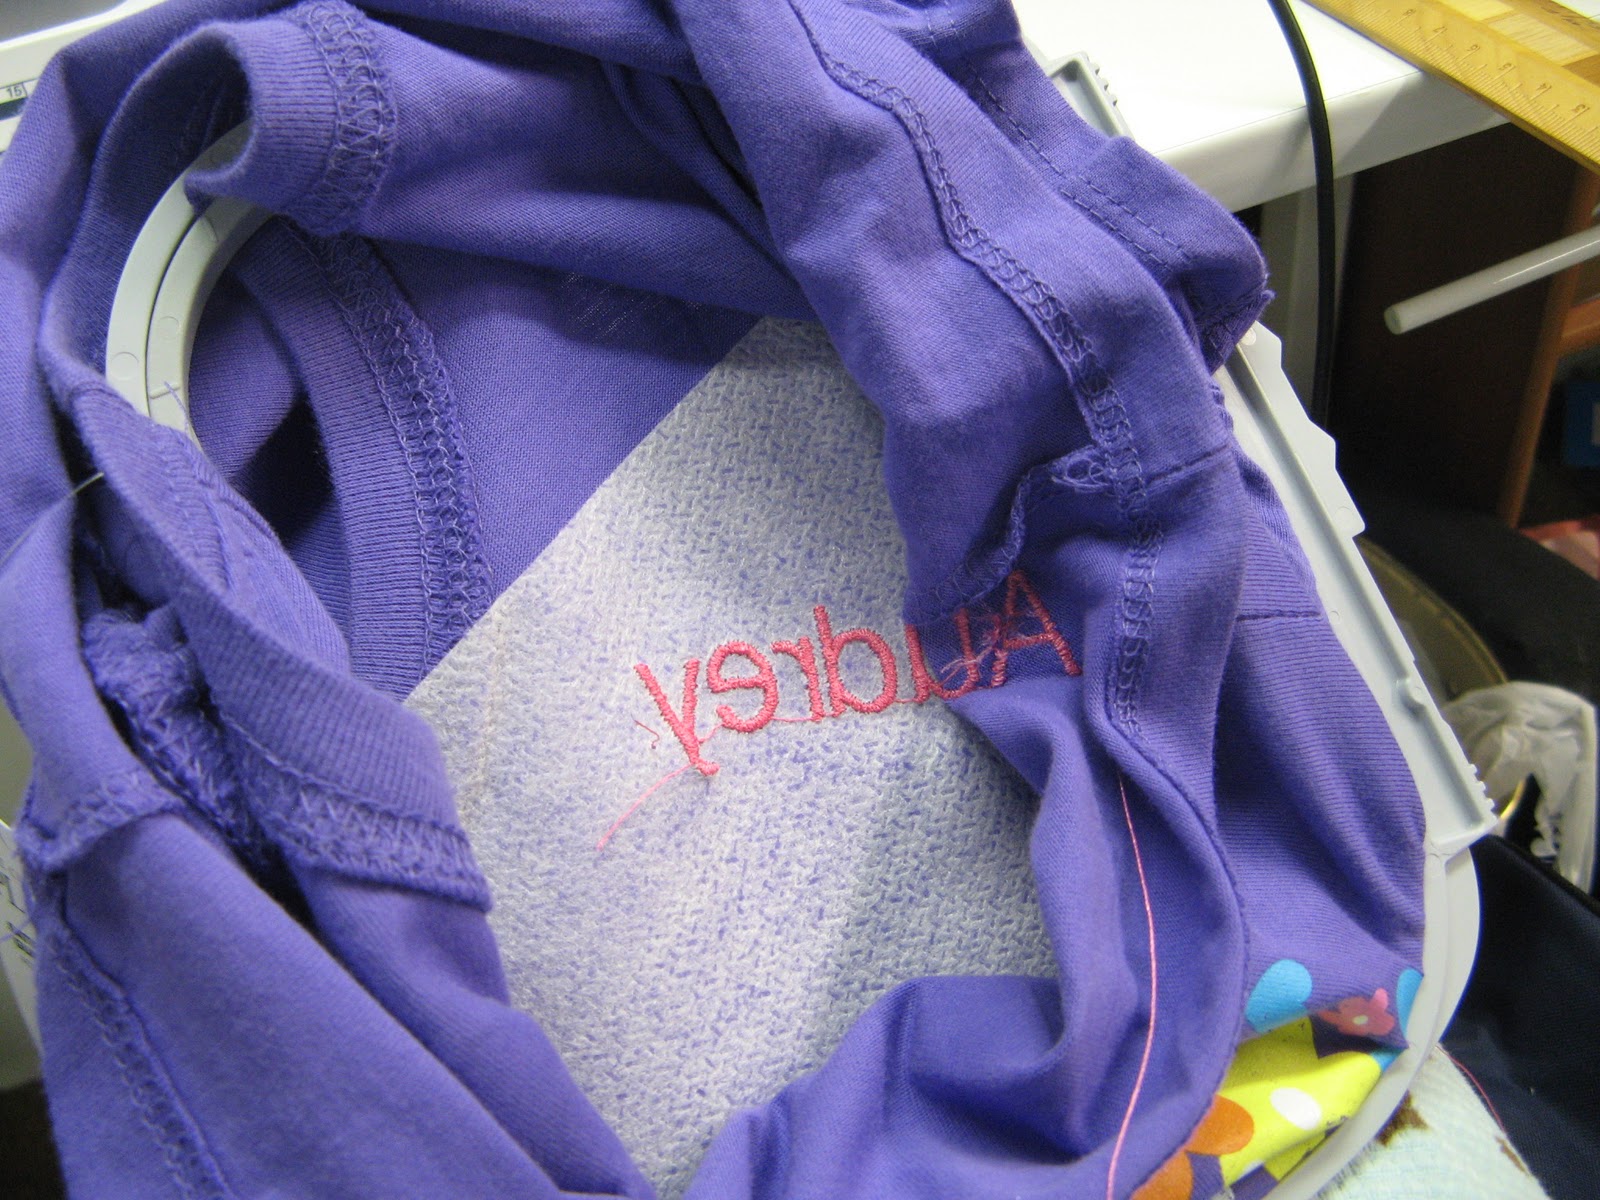
I had one bag leftover and am going to use it as a pattern to make more.  They are just sewn from felt.  Should be really easy to re-create.  And with my new embroidery attachment, I could personalize them!

I also made little cupcake toppers for the party.  Unfortunately, I forgot to put them on!  Here they are on the two leftover cupcakes after the party.  A good idea, too bad I forgot!  I found the graphics for free on a blog, but don't remember where and now I can't find it!  If you want the graphics, I have them saved on my computer.

I also whipped up a quick bunting flag of all of Nathan's birthdays.  I used a big circle punch to cut the pictures and taped them on in the car on the way to the bake shop!  
 This was the photo we used for his birth announcement.  Such a sweet little baby.
 Here are birthdays 1 and 2.  We still have that little crown.  It's now on a stuffed animal!
 Here are birthdays 3 and 4.  I'm excited to keep adding to this each year!  Maybe I'll make fabric flags and permanently adhere the pictures.  What a fun keepsake!

Last, but not least, were the Super Hero capes!!  My mom helped me make them and they turned out adorable!  I made various colors and let the kids pick which they wanted.  I also bought stick-on felt stars and let the kids decorate the Superman-esque emblems on the back.  Originally, I was going to put each child's initial on the emblem, but then I wasn't sure who was all going to come, so I didn't want to make extra work for myself!  This worked out great.  The kids loved decorating their own.  Here are Nate, Cody, Oliver and Audrey playing in the kid's area of the bake shop.  The boys were running wildly, letting their capes fly in the wind!

Here is my big 5 year old boy, with his special Batman cupcake!
 And a cute pic of Audrey.  She now loves Oreos!

That's it!  The kids had fun and so did I! All in all, I'd say it was a success!

Sunday, February 13, 2011

Valentine's Day gifts

Take a look at these cute Valentine's Day cards and gifts I whipped up for some work friends!  The cards were a free download at Thirty Handmade Days.  Her idea was to make covered button earrings and attach them to the cards that read "Cute as a button."  I loved that idea, but not many of my friends wear stud earrings, so I decided to make button thumb tacks instead!
 All I needed were flat head thumb tacks, my big jar of buttons, and a hot glue gun. 
Here's the card printed out with 2 of the tacks stuck in.  I love it!  Maybe next time I'll make fabric covered thumb tacks.  That would be cute, too!

Happy Valentine's Day!

Embroidery

Remember how my Mother-in-law gave me an awesome new sewing machine for my birthday??  Well, it came with an embroidery attachment that I didn't have time to open until last weekend.  My friend Kelly had bought t-shirts for Audrey and her daughter Greta, so I decided to embroider the girls' names on them.

I had to read the manual to figure out how to use the machine.  It's complicated!  After figuring it out, I got to work.


Here is Greta's finished shirt.  I wish I would have tilted the name more, so it didn't go into the rainbow.  But for my first try, it's not too bad.


Audrey's turned out a little better.

I was really excited about it.

Then I turned it over.  Doh!

So I busted out the seam ripper.

And proceeded to stab my finger and bleed all over Audrey's new shirt.
I'm planning on doing more practicing.  If you have any things you'd like embroidered, I'll gladly do it for you!  You'll just need to purchase the thread, since I don't have too many colors.  Let me know if you are interested! :)