Showing posts with label party. Show all posts

Sunday, April 15, 2012

Caterpillar Birthday!

My daughter and my good friend's daughter turned 2 in December.  We planned a joint birthday for them using the theme The Very Hungry Caterpillar.  Here are some highlights from the party.  Most of the ideas are from Pinterest!

Here is the invitation.

The first circle is the caterpillar's head.  The second circle has the poem:
We can hardly believe
two years have passed.
Our little caterpillars 
have grown up so fast.
Join the Dunnes and Heinleins
as we debut
Kiah and Audrey 
are turning TWO!

The third circle has a photo of each girl, and the fourth circle has the party info.  I used mini brads from Michael's craft store to attach each circle.  I then rotated the circles so they were stacked and slipped it in a large greeting card envelope to mail them off to the party go-ers.

I put an invite in a frame and displayed it at the party.  Making 20 of these invites took FOREVER, but they are so cute it was worth it.
 

A couple weeks before the party, we got the kids together and made these artworks.  Celia (the other mom and party planner) bought these canvases, acrylic paint, and toddler friendly paintbrushes.  I made the butterfly body forms with brown construction paper and glued them on top of the paint once it was dry.  I also had googly eyes to add once the art was dry.  We made this art as samples and displayed them at the art table at the party.  All the guests who came got to choose which artwork they wanted to make, make it, then take it home as their party favor!  It was a big hit with the kids AND adults alike!

I later hung the art in my kids' room as display of their artistic ability!

I made the girls birthday shirts out of felt and fabric.  I bought the plain white shirts at Kohl's.  I loved the little ruffle detail near the neckline.  I cut out the number two from polkadot and strawberry fabric and ironed on interfacing to the back, then ironed it to the shirts.  I zigzag stitched all around the two to adhere it to the shirt.  I then used my embroidery attachement to embroider the name letters onto different colors of felt.  The eyes on the caterpillar head are just little zeros!  I cut circles around the letters, trying to get the letter as centered as possible.  I used my 2" circle punch to make a paper circle template that I pinned on top of each letter, then cut around.  This worked well, but some letters are more centered than others.  You can tell it is handmade! :)  I then sewed each circle to the shirts using coordinating thread.  This part took awhile to change the top thread and bobbin each time, but I am really happy with how it turned out.  I wasn't going to sew the purple antennas on the caterpillar heads, but in the end I did.  


Here is Audrey in her shirt.  You can see the antennas.

Celia bought green tutus for the girls to wear, too.  They were adorable!

My mom also crocheted the girls caterpillar hats.  Here is Kiah modeling hers at her house:

I bought a book of the Very Hungry Caterpillar just to cut up and use for art.  I got a butterfly punch at Michael's and made these two frames: one for each girl to take home after the party.


I also used the book to make signs for the food table.  We served food from the book!  The big lollipops are from Dylan's Candybar.  Instead of an actual pie, my friend Janae made pie pops - they were adorable and delicious.  And instead of cupcakes, I made a table runner out of cupcake fabric.


Celia made delicious sandwiches with the salami and swiss cheese, and in honor of the leaf the caterpillar eats to make his tummy feel better, we had salad.

I made name banners for each girl and displayed them in the dining room with the food.  Here is Kiah's.  The letters are punch-out letters from a teacher supply store.  The colored polkadots around each letter are the girls' fingerprints!

 Here is Audrey waiting patiently for her cake.  My mother-in-law is a fabulous baker and made this cake.

Here I am enjoying the party with Audrey, my friend Carla, her daughter Kennedy, and my other friend Erin.  A ton of work went into pulling this off, but everyone had fun, the food was good, the decor was cute, so I was a happy mama!

 No, stripes nor black and white clothing were a prerequisite for attending the party.  My friends and I just have very similar taste in clothing!  Ha!


Saturday, July 23, 2011

Happy Birthday Nash!

Today was my awesome friend Katie's son's first birthday!  Katie is seriously one of the funniest people I know.  However, everytime I hang out with her, I am blown away by not only her quick wit but how she takes everything in stride and focuses on what really matters.  I mean, the birthday boy himself was an hour late to the party and she didn't even flinch!  "A boy's got a nap," she said.  I, for one, would have been freaking out saying "Ohmygawd, people want to see the baby, but he's not here, ohmygawd!"  Thank you Katie, you are an inspiration to control-freak, anal-retentive moms such as myself! :)

But on to more important things - like what the cutie-patootie birthday boy wore!  :)

The theme for the party was mushrooms, butterflies, and forest friends.  It was adorable!  Katie made a cupcake stand by wrapping soup cans with wood grained contact paper and layering them with cut wood rounds.  She made adorable cupcakes with red frosting, and upside-down white chocolate chips so they looked like little mushrooms.  She then placed these adorable thin, edible butterflies on top that she had gotten on Etsy (they looked like these, however I'm not sure which vendor she used).  I was in love with the cuteness.  So with all these mushrooms and foresty things going on, Nash (the baby) needed a matching shirt - enter me.
 I looked at some mushroom graphics on Google Images to get an idea of what shape to make.  I then cut it out of the fabric (bought the red, but already had the brown and the felt).  The next step is ironing on the fusible interfacing, cutting out, and ironing it onto my 18 month old shirt from Target.  I zig-zag stitched around each piece, using red thread for the top and brown for the bottom.  I then eye-balled and cut out the 1.  I straight stitched him onto the middle of the mushroom with white thread.  The 1 looks a little long, but I wanted it to be the length of the mushroom.  In retrospect, I wish I would have made the mushroom squatter and shorter, so the 1 could fill the space and not be so skinny.  Oh well, I still love it.

Here is baby Nash and his beautiful mama.  Sorry about the terrible iPhone pics.  Like I said earlier, Nash was woken from his slumber to attend his party, so he was a little groggy.  But, he's still handsome!


And here are Nate and Audrey playing with Nash in the soda bucket.  They were enamored with the ice cubes.

Happy birthday, Nash!  We are so glad that we could help make your day special!

Tuesday, February 15, 2011

Super Nate Turns 5!

We had Nathan's Birthday party this Saturday over at Bliss Bake Shop in Bethany Village in NW Portland.  My mother in law took Ben and I to a crab feed dinner at her church and we bid on a birthday party package at the silent auction.  We ended up getting it!  Bliss was great - so adorable, awesome staff, and delicious cupcakes.  I highly recommend!

The theme was Super Heros, since Nate has been into them for awhile.  His big Christmas present last year was a Bat Cave, he was Iron Man for Halloween, and he got Trio Batman and Joker sets for Christmas this year.  I made his invitations with the Paintbrush application on my Mac (I wish I had photoshop!)  It turned out cute!  It took FOREVER to crop his picture.  I hung a white sheet over the baker's rack in our laundry room for a backdrop.  His outfit is Superman jammies with a velcro cape.
The treat bags were really fun.  I ordered the bags from Groovy Holidays.  I had a coupon for $20 off from Mamapedia Sweet Deals.  I filled the bags with Iron Man and The Hulk Silly Bandz, homemade Batman and Superman crayons (more on those later!), Batman notepads from the dollar section at Target, Spiderman stickers, and a Super Hero Squad figurine.  The kids were pumped about all the fun loot!

I had one bag leftover and am going to use it as a pattern to make more.  They are just sewn from felt.  Should be really easy to re-create.  And with my new embroidery attachment, I could personalize them!

I also made little cupcake toppers for the party.  Unfortunately, I forgot to put them on!  Here they are on the two leftover cupcakes after the party.  A good idea, too bad I forgot!  I found the graphics for free on a blog, but don't remember where and now I can't find it!  If you want the graphics, I have them saved on my computer.

I also whipped up a quick bunting flag of all of Nathan's birthdays.  I used a big circle punch to cut the pictures and taped them on in the car on the way to the bake shop!  
 This was the photo we used for his birth announcement.  Such a sweet little baby.
 Here are birthdays 1 and 2.  We still have that little crown.  It's now on a stuffed animal!
 Here are birthdays 3 and 4.  I'm excited to keep adding to this each year!  Maybe I'll make fabric flags and permanently adhere the pictures.  What a fun keepsake!

Last, but not least, were the Super Hero capes!!  My mom helped me make them and they turned out adorable!  I made various colors and let the kids pick which they wanted.  I also bought stick-on felt stars and let the kids decorate the Superman-esque emblems on the back.  Originally, I was going to put each child's initial on the emblem, but then I wasn't sure who was all going to come, so I didn't want to make extra work for myself!  This worked out great.  The kids loved decorating their own.  Here are Nate, Cody, Oliver and Audrey playing in the kid's area of the bake shop.  The boys were running wildly, letting their capes fly in the wind!

Here is my big 5 year old boy, with his special Batman cupcake!
 And a cute pic of Audrey.  She now loves Oreos!

That's it!  The kids had fun and so did I! All in all, I'd say it was a success!

Wednesday, December 22, 2010

Audrey's Birthday Bash!!

Audrey's first birthday party was last Saturday and I did a few DIY projects to get ready for it.

First, I made a paper banner that I hung across the mirror in our dining room that says "Audrey".
I used my paper punches to create this out of white, pink, and green card stock and a sheet of white scrapbook paper with multicolored polka dots.  I have a 1 in circle punch, 2 in scallop punch, and a 2 3/4 in circle punch, all by EK Success.
I got the little owl from a collage sheet of 1 in round owl graphics from Nice Designs on Etsy.  It cost $4 and she emailed it to me that day!  They are printed out on white card stock.
I used some scrap-booking paper I already had for the letters.  I traced a set of letter stencils I had at school and cut them out on the pretty paper.  I then took an exacto knife to make slits at the top and threaded the ribbon through. 

Another thing I made were the party favors for all of Audrey's little friends.  I made personalized bags that I put a sheet of owl stickers in and a handmade owl onesie (or shirt for the big kids).
The bags had a green circle for boys and a pink one for girls.  Then they had a scallop polka dot with owl in the middle and I hand wrote their names on the circle.  I then glued it on a white paper bag that I got in a set of 6 at JoAnns.
 The onesies where fun to make.  I asked each mom which size their kiddo wears.  I then picked out the pink, green, and brown polka dot fabric for the girls and a green polka dot fabric for the boys. 

This was my inspiration for the onesies.  This one is from Presents of Mind, a cute little shop on SE Hawthorne in Portland.  It was $20, so I knew I could make it for cheaper.  I got Carter's and Gerber onesies on sale at Babies R Us and the fabric on sale at The Fabric Depot (a HUGE fabric store in SE Portland).  I traced the owl onto webbed interfacing and ironed it on the fabric, then cut out and ironed onto the onesie.  I zig-zag stitched around the owl, then straight stitched up and back for the wings.  My onesies didn't have the little feet (I thought they looked a little weird) and they also didn't have eyes (I tried one and it is REALLY hard to zig-zag in a small circle!)

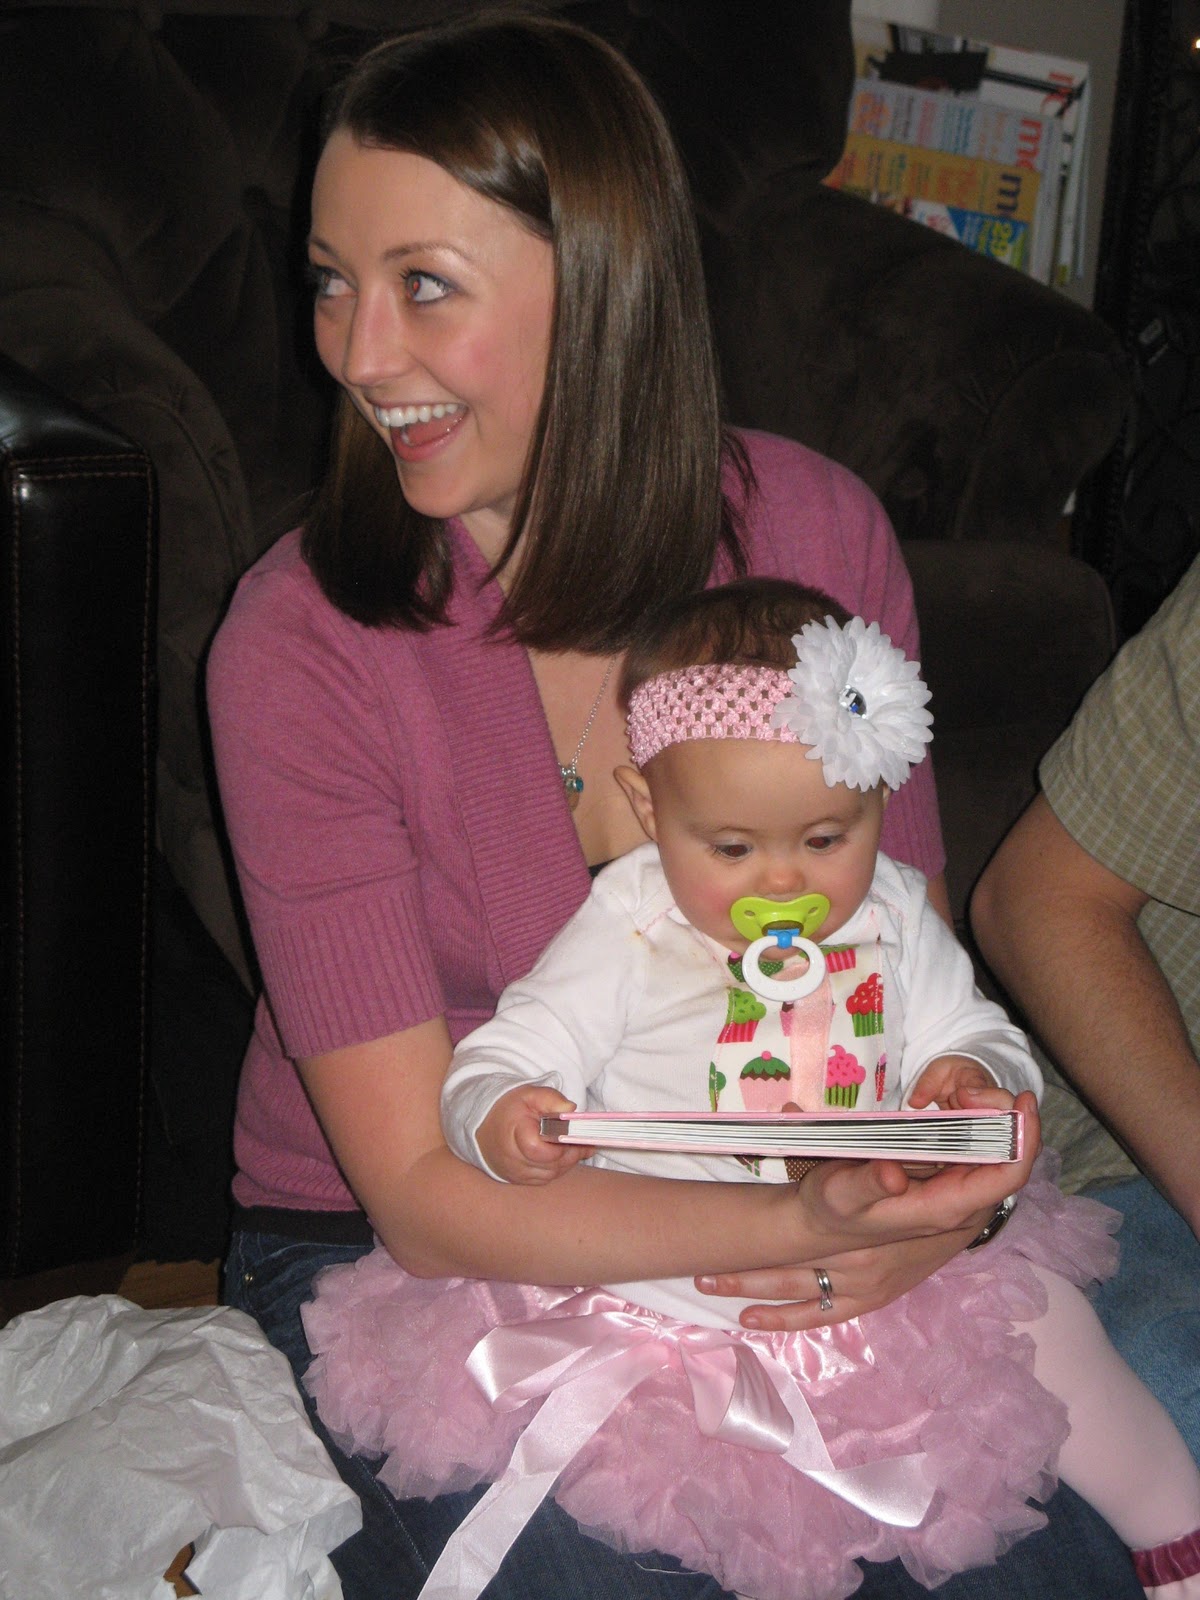
Audrey had an owl onesie as well.  Her's was made out of cupcake fabric and had a pink felt number one stitched in the middle instead of wings.  I used a fancier onesie, the fabric had a little bit of texture to it and there was a bit of pink stitching along the neck line.  The birthday girl needed her shirt to be special!
 She also wore an adorable headband made by my friend Michelle Armstrong, a pettiskirt tutu made by Boutique Hermosa on Etsy, and adorable Robeez-esque owl shoes made by Wildcubs on Etsy.
 I just love this tutu.
The shoes are adorable.  Robeez doesn't make shoes with owls on them, so these were so perfect!

The last was the food.  Unfortunately I was so busy, I didn't snap any pictures of the food table.  I asked a few of my friends to bring an appetizer to share and luckily, no one brought the same thing!  The food was so good!  I made pink punch that was in a pretty punch bowl and put out cute plates, cups, and napkins that I got at Amazon.  I also put out some sippy cups, plastic bowls, and baby spoons for the babies in attendance.  I had baby snacks on the coffee table and applesauce on the food table.  The babies got to eat, too!  My mother in law made adorable and delicious pink cupcakes in silver cupcake liners.  I made paper owl cupcake toppers for all of them, kinda like this one.
Mine were the scallop punched polka dot paper with a 1 in owl circle glued in the middle, just like the banner and treat bags.  I glued them to a white lollipop stick and put them in each cupcake.  I arranged the cupcakes in my white cupcake stand.  I can't believe I didn't take a picture of them!  Here's a tutorial if you want to make some of your own.

I asked my mother in law to also make Audrey's cake.  My idea was for her to have a giant cupcake on her high chair.  My MIL thought that sounded crazy, but she obliged and borrowed a cupcake pan from a friend to make one.  It turned out soooooo adorable and Audrey loved it!

Happy Birthday to my sweet baby girl.  She makes me so happy and I can't imagine my life without her.  I hope all of our guests had a nice time at the party.  We wanted them to feel as special as we do to have Audrey in our lives!